Let Your Creativity Soar This International Kite Day
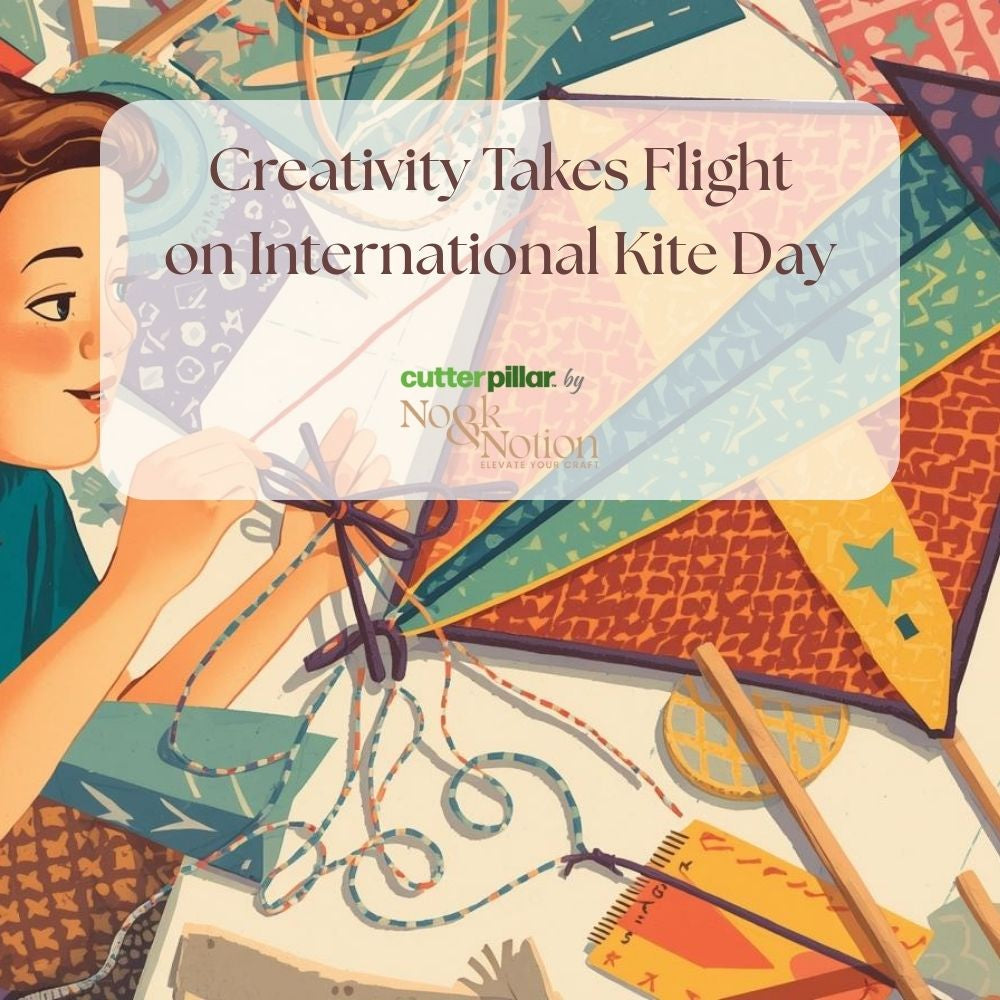
International Kite Day is all about color, movement, and that joyful moment when something you made lifts into the sky. 🪁
And guess what? You don’t need fancy supplies or expert skills to join the fun.
Today, we’re celebrating creativity by showing you how to make a simple kite, with an easy process that’s perfect for crafters, families, and anyone who loves hands-on creativity.

Why Make Your Own Kite?
Making a kite is a lot like quilting or crafting:
-
It’s creative
-
It’s relaxing
-
And it’s incredibly satisfying to see your work come to life
Plus, it’s a wonderful reminder that crafting doesn’t have to be complicated to be meaningful.
Supplies You’ll Need
To make a basic diamond-shaped kite, gather:
-
Lightweight paper or fabric
-
Two wooden dowels (one slightly longer than the other)
-
String or twine
-
Ribbon or fabric strips (for the tail)
-
Tape or glue
-
Scissors or rotary cutter
-
Cutterpillar Ulta Light Board for tracing, aligning, and cutting your kite design accurately.

Step-by-Step: How to Make a Simple Kite
Step 1: Create Your Kite Shape
Lay your paper or fabric flat and draw a classic diamond shape. If you’re using patterned paper or fabric, alignment matters!
💡 Light Board Tip:
Place your material on a Cutterpillar Ultra Light Board to clearly see straight edges, pattern placement, or a template underneath. The bright, even light makes tracing and cutting much easier, especially with layered or darker materials.

Step 2: Build the Frame
Lay the longer dowel vertically and the shorter one horizontally across it, forming a cross. Secure them together at the center with string.
Place the frame on top of your kite shape to check sizing before attaching.
Step 3: Attach the Kite Material
Fold the edges of the paper or fabric over the frame and tape or glue them down securely. Take your time, this is where accuracy helps your kite fly smoothly.
Better visibility = better results.
Step 4: Add the Tail
Attach ribbon or fabric strips to the bottom point of the kite. This helps stabilize it in the air and adds that playful, fluttery movement we all love.
Step 5: Tie the Flying String
Tie a length of string to the top and bottom points of the frame. Adjust until the kite balances nicely, then you’re ready to fly!

Why a Light Board Makes This Easier
You might not think of a light board for a kite project, but once you try it, you’ll see the difference.
A Cutterpillar Ulta Light Board helps you:
-
Trace clean kite shapes
-
Line up patterns and edges accurately
-
Cut with confidence
-
Reduce eye strain and frustration
Just like in quilting, seeing clearly makes crafting more enjoyable.
Craft, Fly, Celebrate
International Kite Day is a reminder that creativity is meant to feel light, joyful, and free. Whether you’re sewing, quilting, paper crafting, or making a kite just for fun, the right tools help your ideas soar.
Let your creativity take flight. 🪁
Light up your workspace.💚
And enjoy every moment of making. ✂️